Create your workspace
A workspace is the main operating boundary in Helpin. It contains your teams, members, module access, settings, and records. Use this guide to configure a new workspace before a wider rollout.
Create a workspace
From the workspace chooser, select Create workspace. Enter the requested workspace details and finish creation. Helpin then opens the workspace so you can configure teams and invite people.
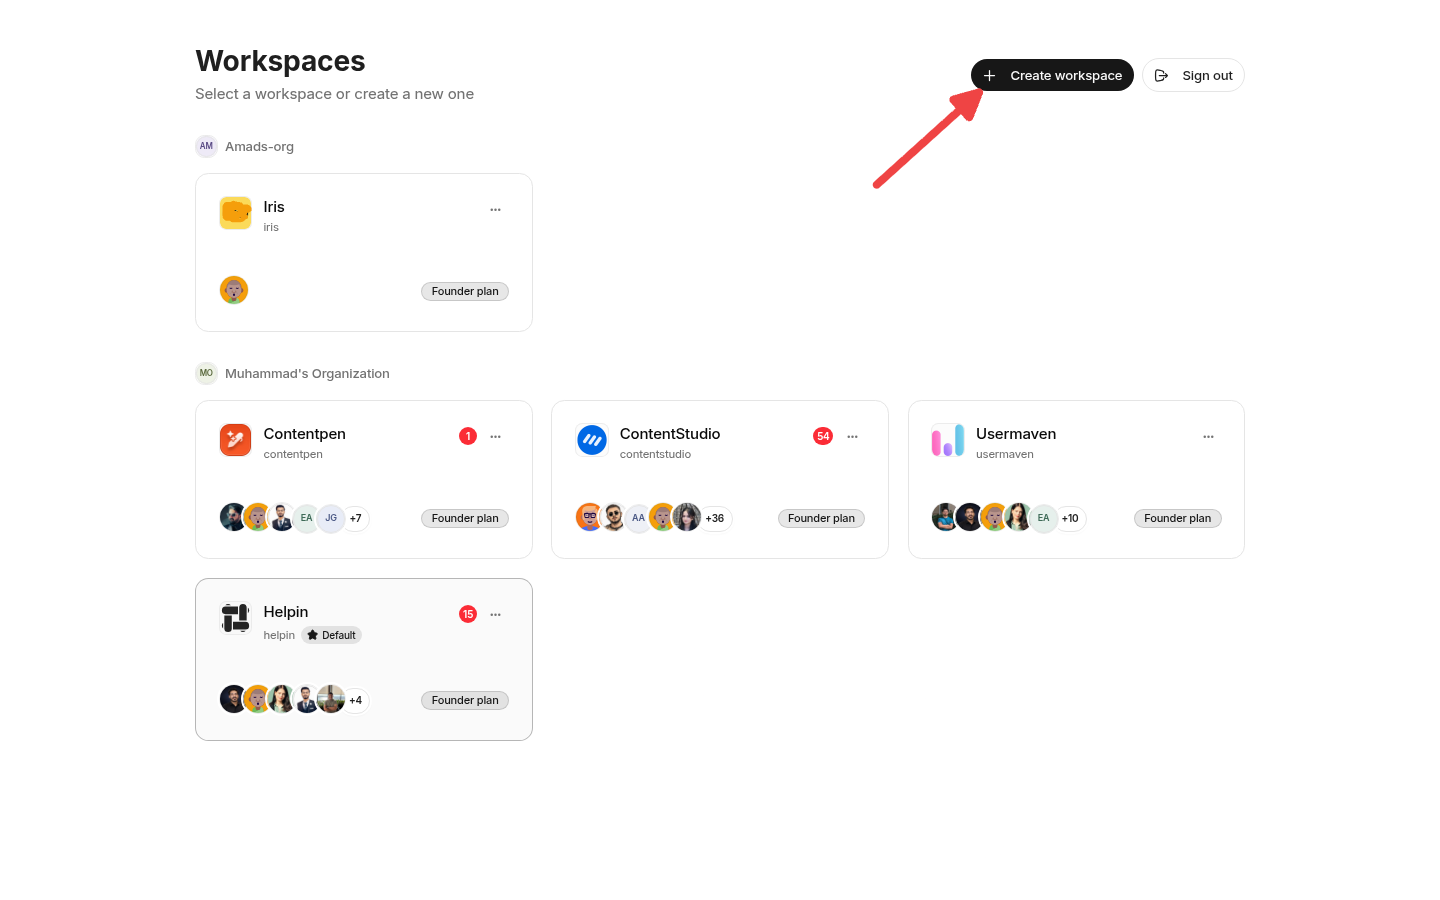
If you already belong to several workspaces, confirm that you are in the correct one before changing settings. The workspace switcher shows each workspace separately.
Review general settings
Open Settings and review the workspace name, logo, timezone, and other available general settings. The timezone affects date-based behavior and should match the team that primarily operates the workspace.
Only people with the required workspace permission can change workspace settings.
Create teams
Teams own project work and can also control access to team-only Docs spaces and optional modules.
Open Settings → Teams.
Select Create Team or New Team.
Enter the team name and description.
Set a short handle if the form provides one. People can use the handle in mentions.
Save the team.
Add members after they join the workspace.
Configure workflows, labels, templates, and planning defaults only when the team needs them. You can start with the defaults and refine them later.
Plan roles and module access
The standard invite flow offers Workspace admin, Workspace member, and Workspace viewer. Ownership is managed separately.
Projects and Docs are available to every workspace member. CRM, Support, and Automation require a module grant for members and viewers. Owners and admins always have every module.
Grant optional modules to teams when possible so access follows team membership. Use direct member grants for exceptions. See Module access control.
Configure your first module
Choose the module your team will use first:
For Projects, confirm the team workflow and create the first task.
For Support, create or select an inbox and configure the chat widget or email channel.
For CRM, configure pipelines before importing or creating a large number of deals.
For Docs, create a workspace-wide or team-only space and organize it with collections.
For Automation, start with a narrow agent or flow whose output is easy to review.
Review billing and security
Before inviting a large group:
Review Plans, billing & usage.
Review Security overview.
Decide who should be workspace admins and who should manage billing.
Confirm whether extra AI usage should be enabled.
Next steps
Was this article helpful?